Wedding DIY Tutorial - How To Make A Romantic All-White European Bridal Bouquet
Interested in learning how to make a bridal bouquet? In this DIY wedding tutorial I’ll show you how to make a European-style bouquet with white blooms that has a soft, organic look to it. It’s a classic wedding bouquet that would compliment any kind of bridal style, and with the use of garden roses and white lilac, it’s also wonderfully fragrant. You could also use this tutorial as the starting point for a stunning home floral arrangement. Try it out and get creative!
(The video’s sound goes out at a few points, so I’ve also included step-by-step instructions for you below.)
Tools & Materials:
Flowers:
White lisianthus
O’Hara garden roses
White lilac
White ranunculus
White astilbe
Tools & Materials:
Floral clippers
Hot glue gun
White ribbon
Scissors
If you don’t have the tools you need to create this bouquet, you can find all kinds of floral tool and materials in my Amazon store. (As an Amazon Associate I may earn commissions from qualifying purchases, but rest assured I only recommend products I love! )
Step-by-Step Instructions:
1. Prepare
Gather your materials and strip the leaves from each stem. If your roses have damage to their outer protective petals, gently pull away petals one at a time from the outside in.
2. Arrange
Beginning with the roses, add flowers to your arrangement one stem at a time. As you work, hold your bouquet just below the flower heads with one hand and add blooms with the other.
Next, add lisianthus around the outside of the roses. Keep them balanced around the circumference. There is no right or wrong way to do this - use your eye to judge what looks balanced to you.
Move on to the white lilacs, adding one or two stems grouped together by tucking them in between the roses and lisianthus so they are slightly in from the edge of the bouquet.
Finally, add your ranunculus and astilbe around the outside of the bouquet, and fill in any gaps that appear between the other flowers. I think of this step as “fluffing up” the arrangement since ranunculus and astilbe have such great texture and shape.
3. Finish
Once you’re happy with the look and shape of your bouquet, take a long section of white ribbon and wrap it securely around the base of the bouquet where you’ve been holding it. Tie a secure knot toward around your stems so they are secure. Do all of this toward one end of the ribbon so that the rest of the ribbon’s length is available for wrapping your stems.
Once the bouquet is secure, trim the ends of your flowers’ stems with your flower clippers so that they are a uniform length. Don’t worry if a few stems are too short - they will be covered by the ribbon in the next step.
Wrap the ribbon down the length of the stems and secure the end with hot glue.
Using another length of ribbon, tie a decorative bow around the stems. I added two bows but you can add as few or as many as you’d like. Trim the ends of your bow ribbon with sharp scissors for the perfect finishing touch.
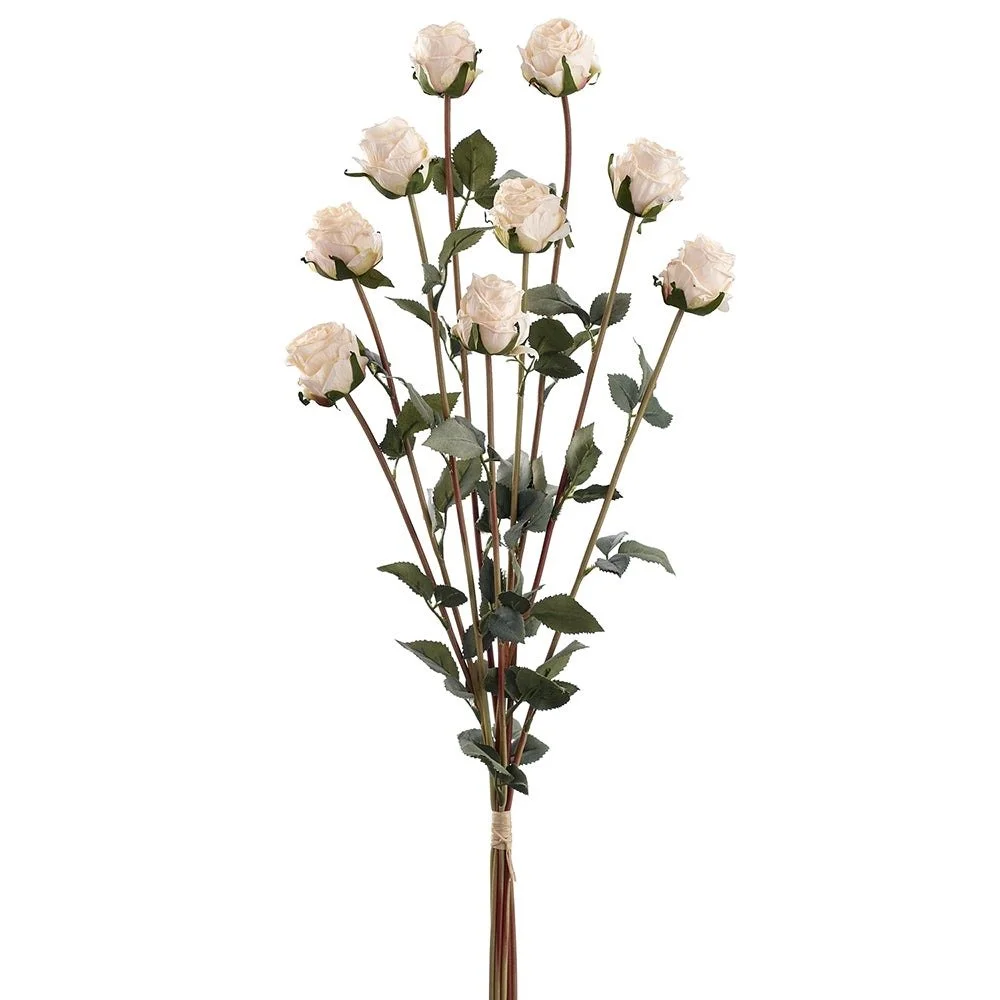
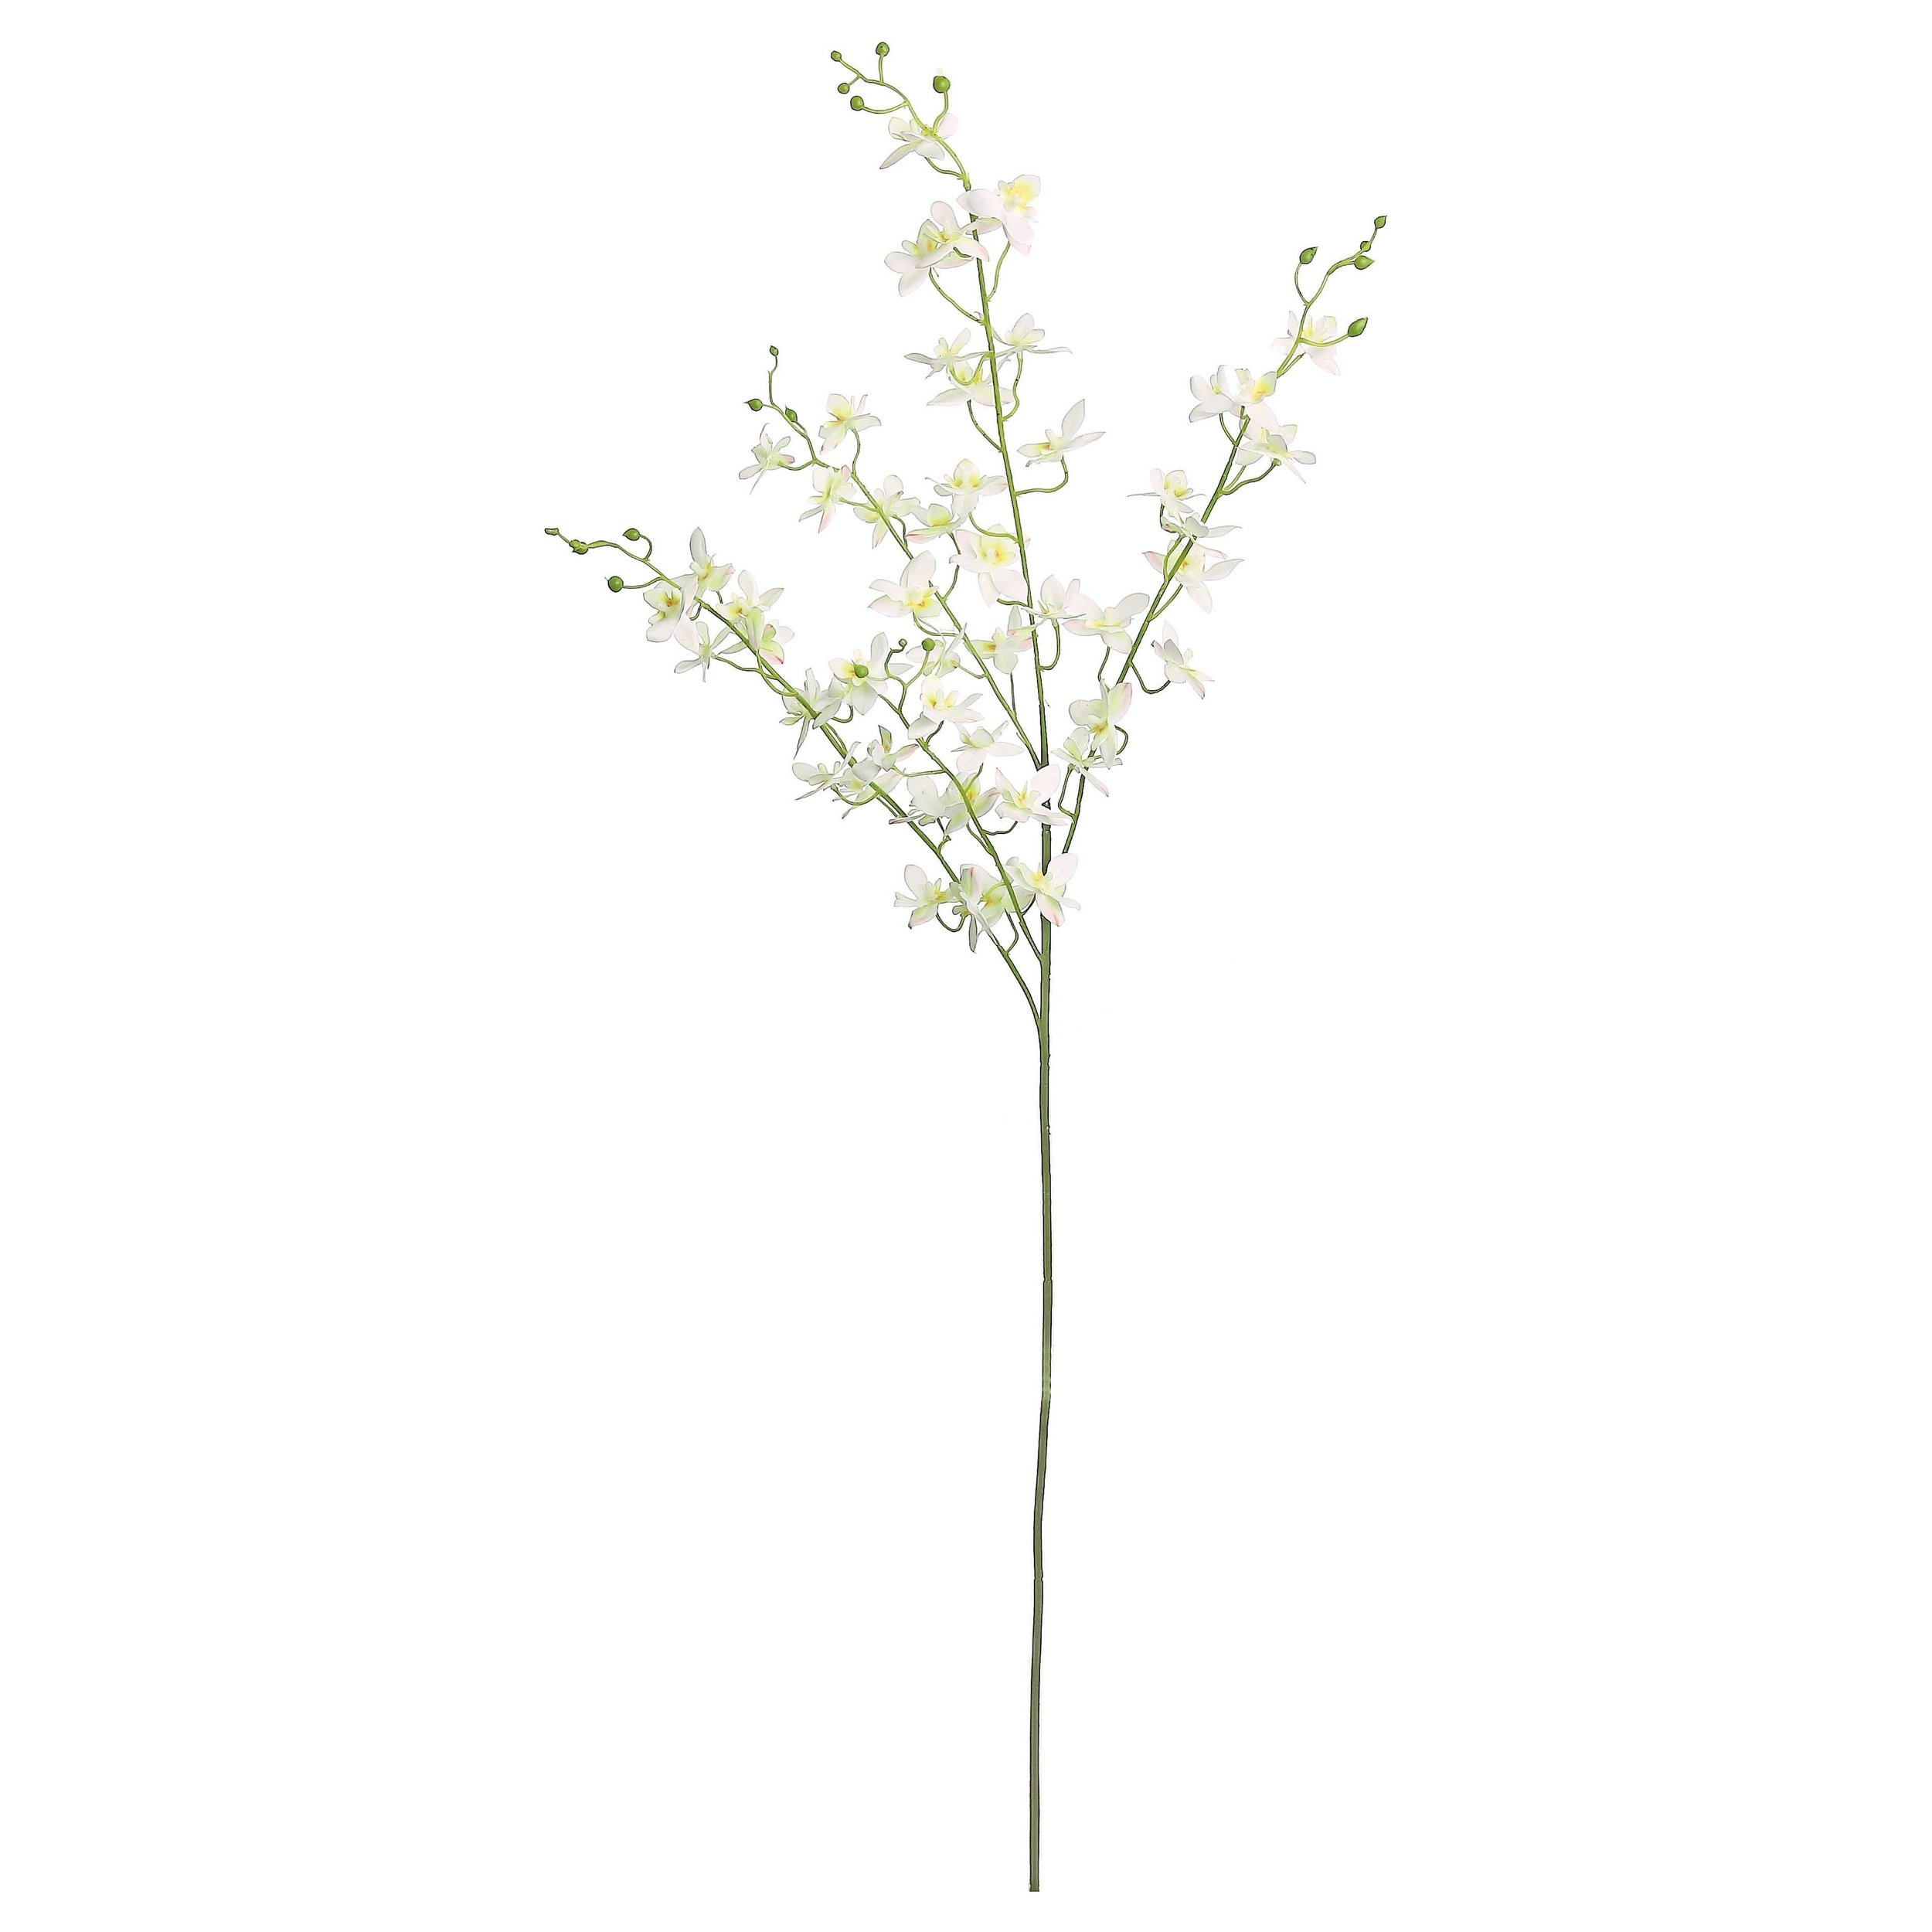
Alternative Approach:
Another great way to create a white flower look? Use Faux Flowers!
High quality faux flowers are incredibly life-like and so easy to use. You can invest in them once and have a beautiful bouquet or decor piece that lasts and lasts. I have an extensive collection of faux flowers in my Home Decor shop, EZLD.co. Click each flower below to shop, or view my full faux flower collection here.